
TwiztedRabbit
-
Posts
4,134 -
Joined
-
Last visited
-
Days Won
16
Content Type
Profiles
Forums
Gallery
Store
Calendar
Everything posted by TwiztedRabbit
-
Ohio Riders Unofficial Mid-Ohio Track Day 2018
TwiztedRabbit replied to TimTheAzn's topic in Track is Crack
STT is hosting 1 event at Putnam this year... Midwest track day has a few as well motoseries is defunct -
Ohio Riders Unofficial Mid-Ohio Track Day 2018
TwiztedRabbit replied to TimTheAzn's topic in Track is Crack
i'll be popping into mid o a bit this year... but many other will be on the schedule as well. -
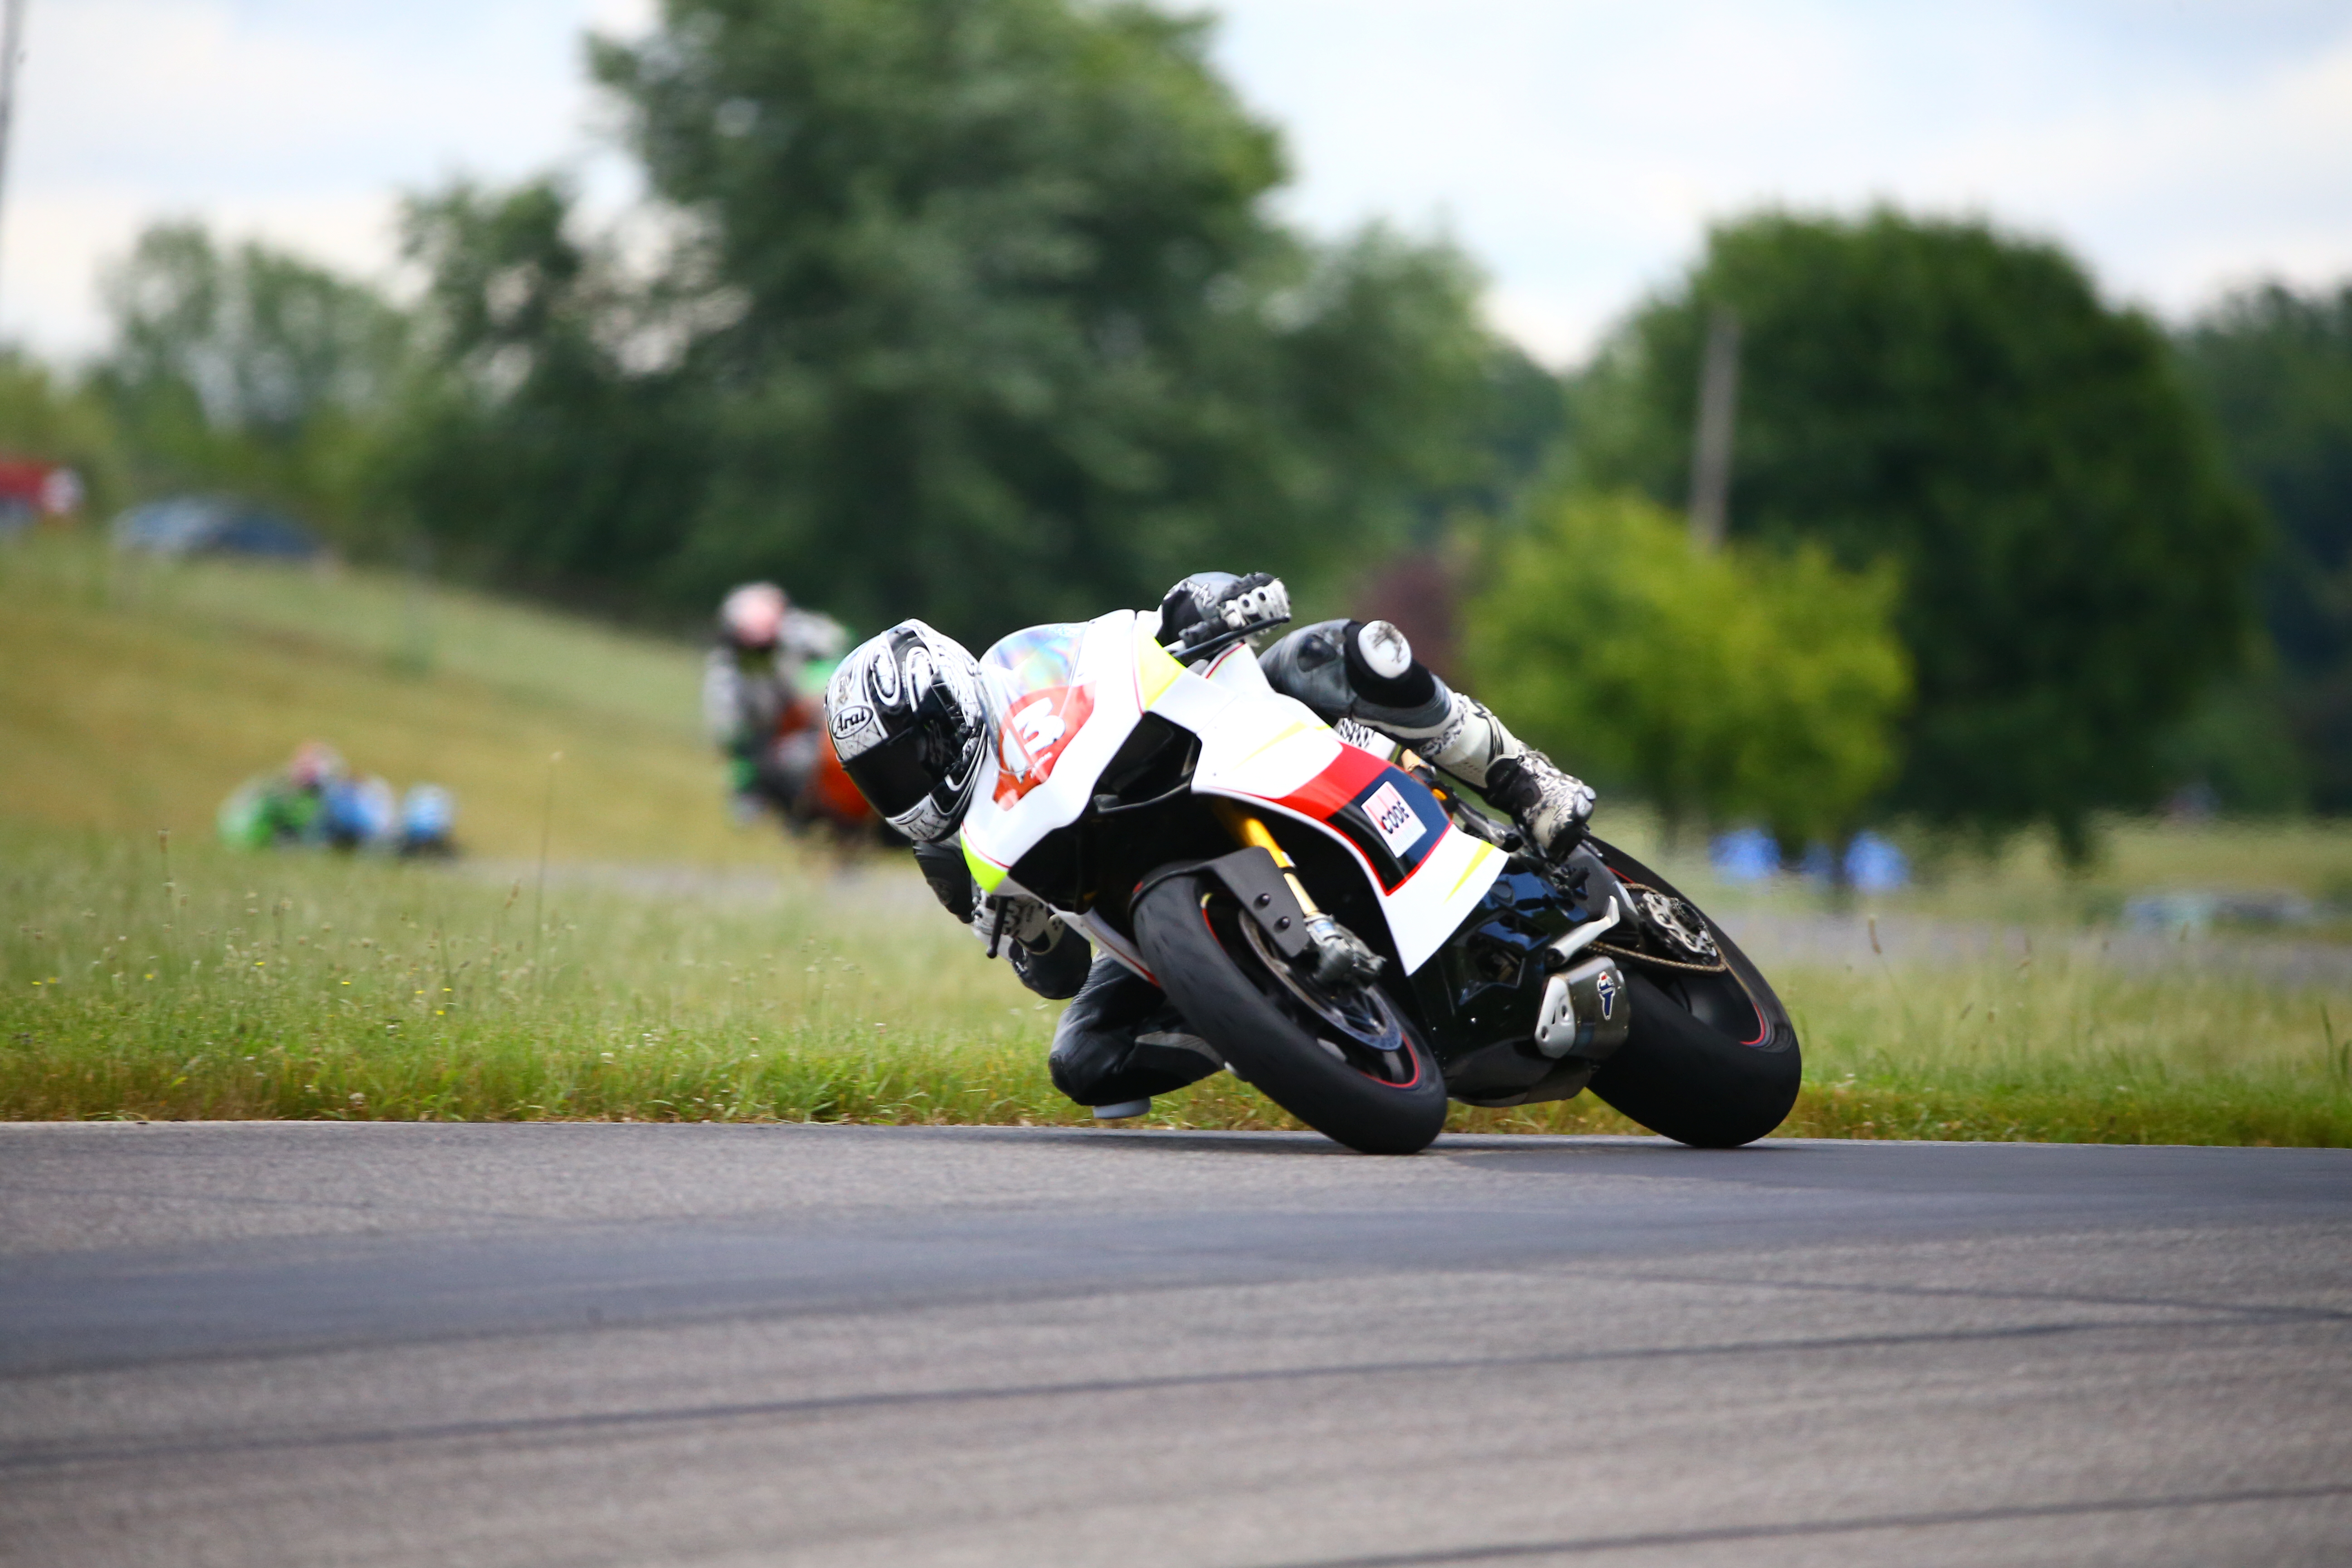
Rabbit's 2017 TOR Yamaha R6 race build
TwiztedRabbit replied to TwiztedRabbit's topic in Pics and Vids
Theres only one thing we all need in this world, a sturdy bottom end. Blueprinting for proper oil clearances and balancing parts with rotating mass increases reliability and reduces vibration. Boring and plating cylinders to match over size pistons and for maintenance. Cryo treating and or Lighten/Balancing crankshaft. Carrillo Rods when more strength is needed. Piston coatings reduce friction and wear while increasing sealing surface area and managing heat. R6s have vary specific issues with the oil clearances on the crank and rods. The 06-07 crank bearings allowed a loss of oil pressure causing a starvation condition to the #2 rod and habitual spun rod bearings. In 08- yamaha made a correction to prevent this issue but overcorrected. In this 2017 r6 the #5 rod bearing had 0.0003” oil gap. And therefor not long for this earth. In the 08- we started to see crankshaft failures that cryo treatment prevents. This is why properly built engines can increase reliability. -
Rabbit's 2017 TOR Yamaha R6 race build
TwiztedRabbit replied to TwiztedRabbit's topic in Pics and Vids
but my 08 already does that @TimTheAzn -
Rabbit's 2017 TOR Yamaha R6 race build
TwiztedRabbit replied to TwiztedRabbit's topic in Pics and Vids
Not in the least @Tonik I do to as I type it out... it brings back my memories of the work as it is done .. mmm hmm -
Rabbit's 2017 TOR Yamaha R6 race build
TwiztedRabbit replied to TwiztedRabbit's topic in Pics and Vids
Lets build some powa! What is done with the engine build is determined buy the rules your competing under, level of maintenance you want to perform and of corse your budget. From stock, superstock, supersport, superbike and beyond. Combustion engines are an air pump so their ability to breath is everything. Milling the gasket surface allows us to tune the combustion chamber size and compression ratio. CNC valve job gives us a clean and consistent radius for optimal air flow past the valve seats. CNC porting forms IN/EX ports for optimal flow that is 100% repeatable from head to head. The unsung hero of a good breathing engine is properly evenly set up valve clearances. -
Rabbit's 2017 TOR Yamaha R6 race build
TwiztedRabbit replied to TwiztedRabbit's topic in Pics and Vids
yes Chris, chamfering the pads is 100% to make wheel changes faster having a captive rear caliper. plus the pads makes rear wheel changes significantly faster. basically it takes 3 things / safety wire to hold the inner pad in place / captive spacers to hold the rear spacers in place so they don't pop out at the slightest bump / chamfered pads to allow the rear rotor to slide up easily so that a square surface doesn't snag on the square surface of the pads! i'm certain everyone here has experienced the frustration of getting the rear rotor to line up straight and up into the pad/caliper recess. -
Rabbit's 2017 TOR Yamaha R6 race build
TwiztedRabbit replied to TwiztedRabbit's topic in Pics and Vids
we didn't take but a few mm off the edge not like a lot of people tend to do and angle the whole damn pad... then I could absolutely see failing them from tech. Our Chamfering of the pad does not effect the performance of the rear brake at all. EDIT: I realize in that picture it really seems that the pad is shaved completely at an angle, it is not -
Rabbit's 2017 TOR Yamaha R6 race build
TwiztedRabbit replied to TwiztedRabbit's topic in Pics and Vids
Race prepping is essential for fast access, ease of use and increased crash ability. Everything we do before hand is to make the everyday stuff easier. Relocating the main harness inside the frame rail and routing the front loom inside the forks shelters and protects it from rash or slower competitors. Fixing the ram air tube to the fairing stay allows for easier bodywork mounting. Heat reflective tape helps manage heat from the engine. Captive rear caliper carrier, spacers and chamfered pads for effortless wheel changes. We cap all non utilized electrical connectors for disassembly/assembly. First pic is of factory harness location -
Welcome back dude
-
Rabbit's 2017 TOR Yamaha R6 race build
TwiztedRabbit replied to TwiztedRabbit's topic in Pics and Vids
On to Chassis assembly: We clean out the hint of grease that the factory puts on moving parts. Its seriously pathetic how little they have, it's barely noticeable. Then we pack the bearings with high quality low friction grease. Properly assemble and torque all moving parts of the chassis, to assure proper spec and function of all moving parts. Last picture is start of assembly using stock shock as a placeholder -
Those were made years ago by Chris kruzel of drippingwet. But everything else and my new ones I recommend pop shadow decals. Tea, is a fellow racer and Stt coach. She does amazing on them with quick turnaround and good pricing
-
Do eeet!!!!!
-
Rabbit's 2017 TOR Yamaha R6 race build
TwiztedRabbit replied to TwiztedRabbit's topic in Pics and Vids
Rear shock removal can be a lengthy job as you need to lift the tank and remove the top clevis. During routine service and more so during a track or race weekend, Time is a commodity. Shaving the frame is legal in race applications and allows for the top shock mount to be removed with the clevis in place. Realigning the lower shock and linkage mounts allow for quick and easy removal. Making spring, valving and maintenance possible in a moments notice. Add a few captive nuts and shock removal literally happens in a matter of seconds. -
this is fine place to look... always look in our marketplace.. even more so check out the WERA forum ( forums.13x.com ) then search in the gear section for people dumping gear.. this is a great time to be buying as a lot of people are offloading for newer stuff right now
-
Rabbit's 2017 TOR Yamaha R6 race build
TwiztedRabbit replied to TwiztedRabbit's topic in Pics and Vids
Quite unfortunate -
Rabbit's 2017 TOR Yamaha R6 race build
TwiztedRabbit replied to TwiztedRabbit's topic in Pics and Vids
There is a good possibility that after all this is done. all I will be able to do is stare at how pretty she is, damn money pits haha! -
Rabbit's 2017 TOR Yamaha R6 race build
TwiztedRabbit replied to TwiztedRabbit's topic in Pics and Vids
So top mount dampers like a GPR make it difficult to quickly get through tech or access under the tank for maintenance. So we decided on a Ohlins under mount damper. The ignition switch removal is necessary for clearance, obviously something that can't be don't for a street bike. Triple clamp modification is not necessary but it sure does look nice and clean and saves the 1 gram that makes it faster than every other R6 . The Steering stop is something a lot of people overlook its easily broken in a crash. Graves makes this really cheap and trick piece to sold 2 problems. 1 it helps beef up the steering stop and 2. keeps the damper from topping/bottoming when the bars hit the ground and causing potential damage. We had to grind the frame flat for a tight fit and drill and tap the frame for mounting Parts Added Ohlins 68mm Damper Graves Damper Mount Graves Steering Stop -
Rabbit's 2017 TOR Yamaha R6 race build
TwiztedRabbit replied to TwiztedRabbit's topic in Pics and Vids
We hope to make a trip in February or March for our annual track rental.. I should hope to have details by mid Dec or Jan. really depends if the bike is ready.. we are taking our time hope to be finished by mid Feb! -
Build thread is up on pics and vids currently
-
Rabbit's 2017 TOR Yamaha R6 race build
TwiztedRabbit replied to TwiztedRabbit's topic in Pics and Vids
Whatever you think would work best @Tonik, I can tell you about what it would cost based on Retail prices but I'm not willing to discuss my cost on parts/ labor and so on being as he is sponsoring a portion of my gig. really the total cost comes down to how hard ya want to go, i'll go into more depth about parts / brand / installation as we go but roughly Bike is roughly $12,000 brand new Motor work $3,000 - $4,500 depending on supersport or superbike build and the depth I will be staying superstock legal but running both SS and SBK classes Bodywork / bolt ons (eg, rearsets, case covers, bars, levers ) $2,000 Brakes, lines, pads ABS delete $700ish suspension $2,500 ECU flash, dyno tuning ,Translogic Quickshifter and Autoblipper $ $2,000ish and then there are small parts, fluids,paint, powdercoat ect... so I'd say from start of nothing to buying a bike and going bawls deep.. $24,000 to the sky is the limit... I have a buddy with a $50,000 zx6r just because lol.. some of the small details that no one will ever see but we do (and I will show) really make this bike tight and just top notch NOW for knowledge.. this bike is going to be WAY better than I am, the things this bike will have are far more than I need, but you prepare for success and utilize as you grow. so set it up right the first time and tweek as you go to suit you. -
Rabbit's 2017 TOR Yamaha R6 race build
TwiztedRabbit replied to TwiztedRabbit's topic in Pics and Vids
Here is the bikes parts fully disassembled , the second picture is seriously the only stock parts that will be going back onto the bike... everything else is aftermarket. -
Rabbit's 2017 TOR Yamaha R6 race build
TwiztedRabbit replied to TwiztedRabbit's topic in Pics and Vids
More disassembly , both Fork seals were blown from factory which is sweet.... granted we don't care as we are installing Ohlins 25mm but still! -
Rabbit's 2017 TOR Yamaha R6 race build
TwiztedRabbit replied to TwiztedRabbit's topic in Pics and Vids
After uncrating mindless disassembly can be fun! It takes only us few hours for a complete chassis breakdown. Most of the time was spent making plans, parts list and prepping parts for sale that I will not be using. At this stage we finalized the paint scheme and the stripped the wheels and send them off for powdercoat. After cleaning and inspection, the real fun assembly can begin.